The computational server is an AMD Ryzen Threadripper PRO 5975WX with 32-cores (single CPU), 256 GB of RAM, 10 TB of SSD disks (more disk space is available in the NAS) and an NVIDIA RTX A4500 GPU for the computational needs of the researchers in the BETA lab.
It is halfway between a normal laptop and a cluster, with the not negligible advantage that, unlike many clusters, you can use it like a normal laptop for computationally intensive tasks (VSCode, RStudio, Jupyter notebooks...).
Use it when you want to throw long computational jobs without overloading your laptop, or when its resources are not enough, especially in terms of memory, disk space or number of threads. Note, however, that if you have a single-threaded job that can be run within the limits of your laptop's memory and disk space, you will probably not gain much by using the server.
To get an account on the computational server, just drop by my office or send me an email.
I'll give you an account and a default password, which you can change using the passwd command (see below).
/home/username
   -- foo1
   -- foo2
   -- [...]
   -- CloudFiles
      -- beta-lorraine-sync
      -- nas_temp
Each user has their own space under /home/username.
This space is very fast, but it is limited and subject to a quota (you can check your quota status with quota -s) which can be increased on request.
You will then have /home/username/CloudFiles/nas_temp with 10 TB (shared) which is not under quota, but whose files are automatically deleted after 5 years from the last modification date. Use this for your ongoing projects when you need very large data temporarily.
IO here is much slower than your home folder on the server, but still relatively fast (physically the data is on a NAS attached to the same switch as the server).
Finally, you can optionally have a folder on /home/username/CloudFiles/beta-lorraine-sync that mounts the data on NextCloud. This is (relatively) very slow as the NextCloud data is physically located in Germany, but can be useful if you want to transfer small files from your laptop to the server by simply placing them in the folder you synchronise with the NexcCloud client.
Please note that the /tmp folder is intended for temporary stuff, not to fill data indefinitly. Starting 5.May.2025 this folder is cleaned every night based on access time, i.e. files that have not been accessed in the last 2 days are automatically removed.
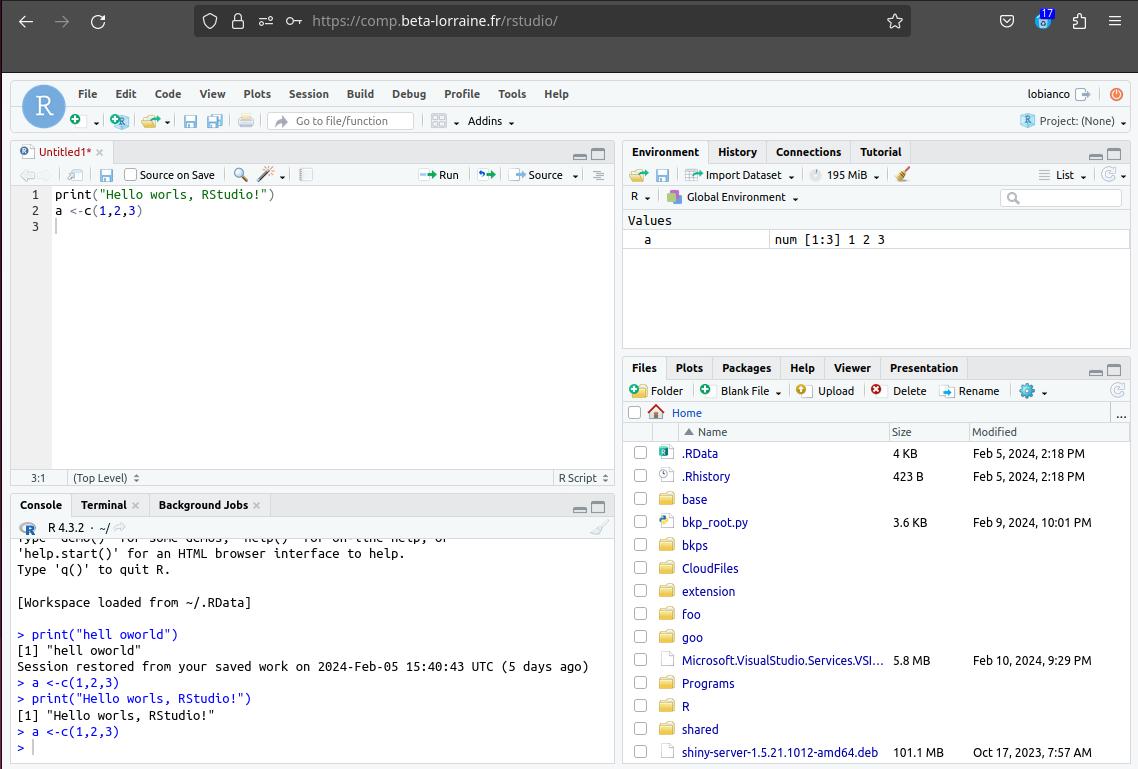
A server version of RStudio is available at https://comp.beta-lorraine.fr/rstudio:
You can also install your own packages. If they fail due to missing system dependencies, just mail me the complete log so I can install the required dependencies.
Jupyter Lab is available at https://comp.beta-lorraine.fr/jupyter:
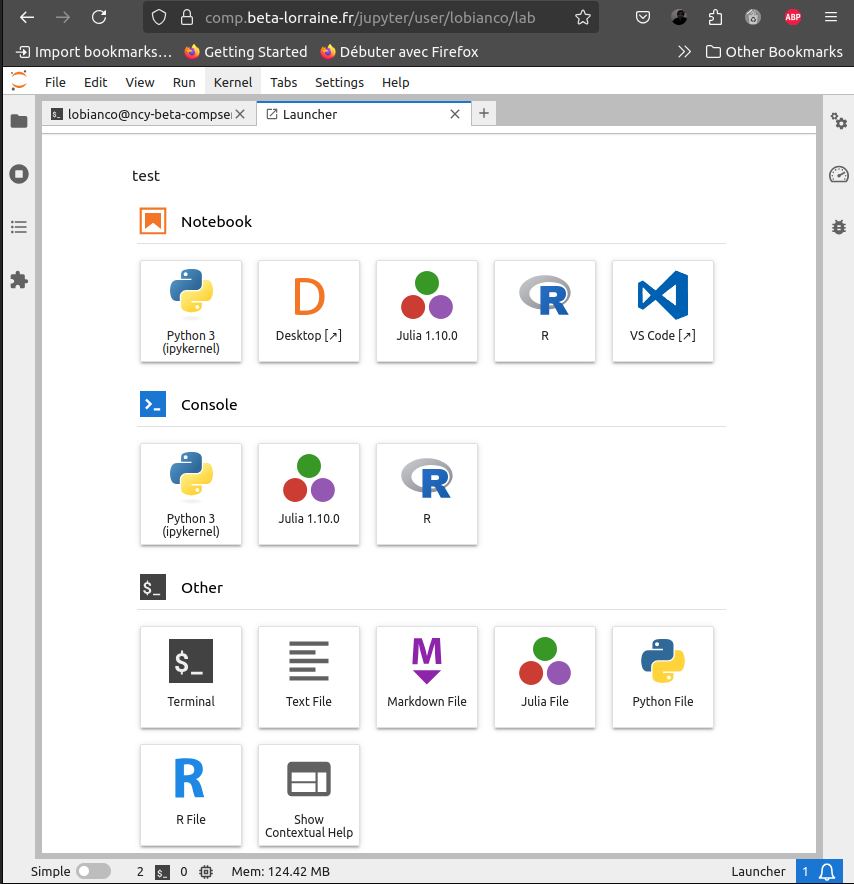
At the time of writing, it is possible to create Julia, Python or R notebooks. Ask if you need other kernels.
Visual Studio Code is available as a Jupyter plugin at https://comp.beta-lorraine.fr/jupyter/ (just click on the VSCode icon).
As for Jupyter, we currently have Julia, Python and R extensions available (plus Markdown Preview and LaTeX). You can install your own VSCode extensions by running code-server --install-extension [extension_name] or using the Extensions sidebar.
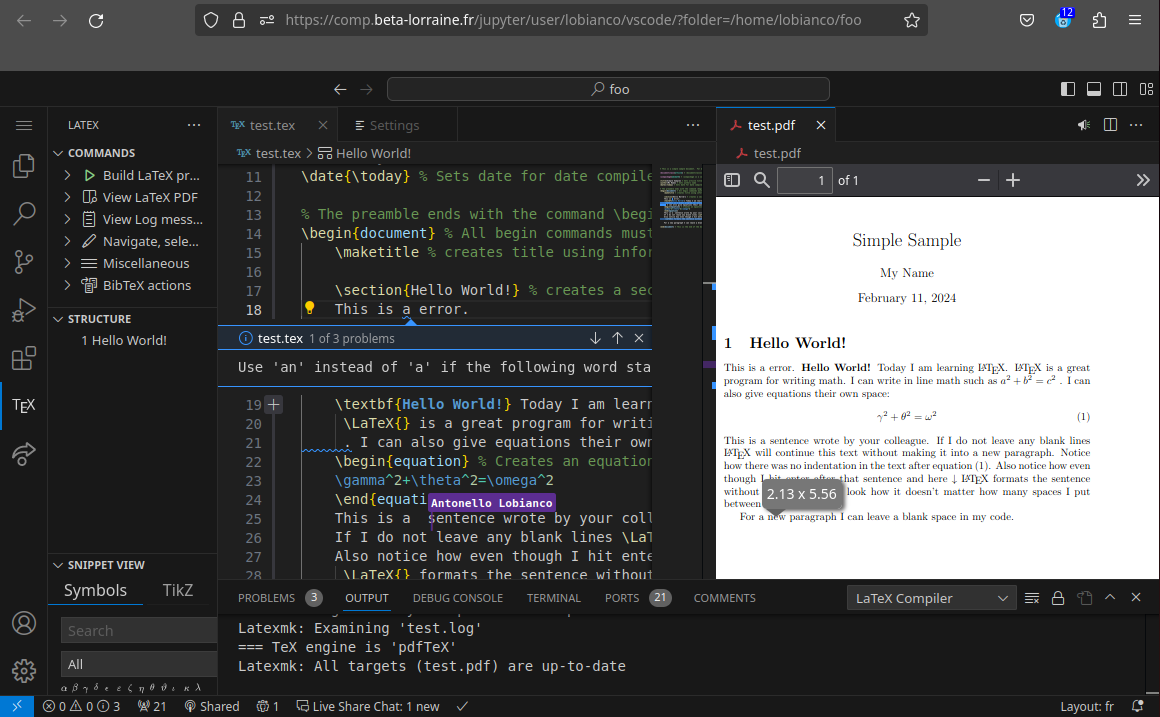
Note that you can also use VSCode "remotely" by using a VSCode instance on your local laptop and then connecting remotely to the server so that the computation is done by the server and not by your laptop.
The following screenshot shows a rather nice combination of editing a LaTex article with AI based editing suggestions (LanguageTools, Grammarly is also available - just install the extension znck.grammarly), live collaboration with other users and PDF preview:
An alternative to the SSH connection (that is no longer avalable) is to open a session in Jupyter and add a terminal.
This session is semi-permanent (idle Jupyter kernels are killed after 7 days). If you want a permanent connection (that will not be lost if you hibernate your laptop or lose the connection), you can use the screen command on the server terminal (tutorial - manual).
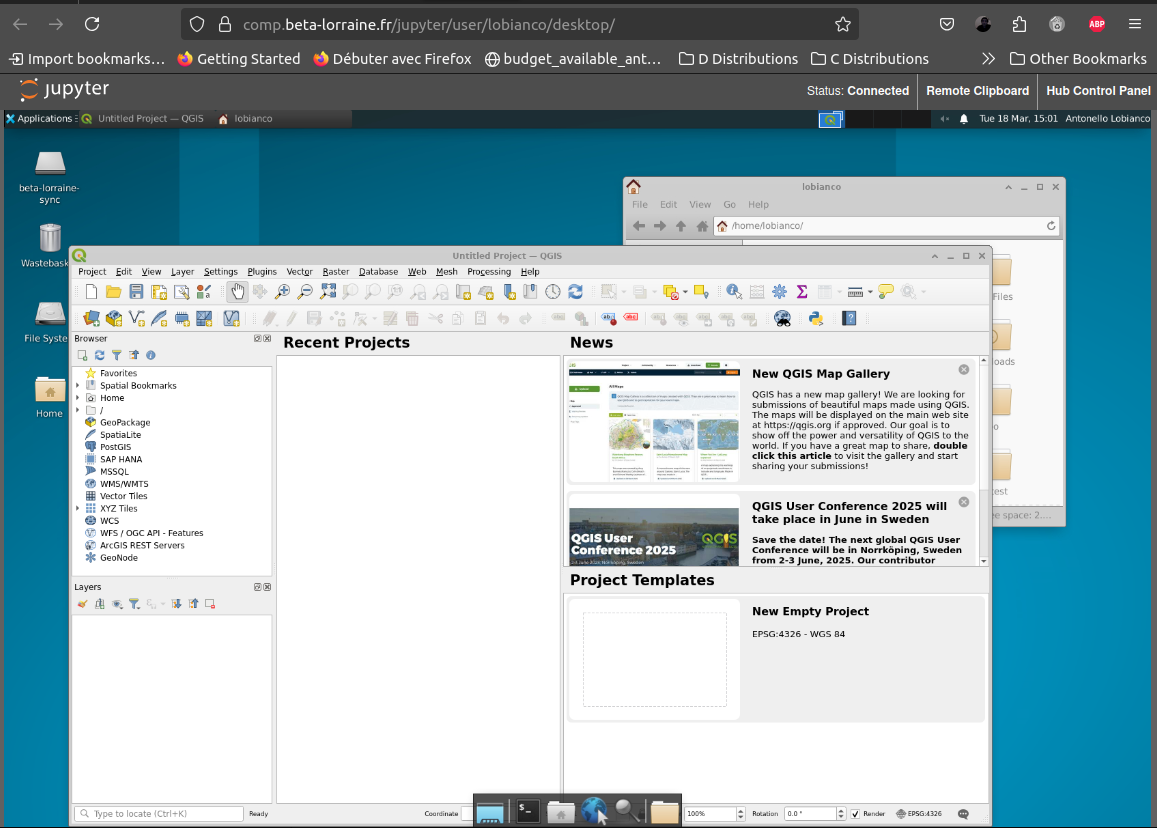
Desktop apps are implemented as Jupyter plugin. Just click on the "Desktop" icon to retrive a desktop that allows you to run graphical applications:
You can transfer files to the server in (at least) three ways
In order to use WebDAV you need to connect your WebDAV client to the address https://webdav.beta-lorraine.fr/yourusername and provide the client with both yourusername and yourserverpassword.
Recent versions of both Windows and Linuw have WebDAV client integrated in their File Browser (and I am pretty sure Mac does too). Some instructions for Windows are here.
Alternatively, in Windows you can open a Windows PowerShell terminal and type net use * https://webdav.beta-lorraine.fr/yourusername or use a free program like WinSCP.

Remember that WebDAV data is only mounted on your computer, not stored on both your computer and the cloud (and then kept syncronised). If you are offline, you don't have access to the data.
Note: for technical reasons you don't have access to the CloudFiles mounted spaces using the direct WebDAV access to the server. In order to use the large space on the temporary NAS space you need to first upload the data on the server space and then move it to the NAS using the Jupyter file browser (limited to 500MB directories), command line or the file browser available in the graphical environment described above.
All the hard drives on both the server and the NAS are in RAID systems to protect against hardware failure of a hard drive. Note that the disks are not encrypted. So someone could physically enter the server room, steal the discs and read their contents. Don't use the server for projects with national security implications!
An iptable-based firewall "protects" the server (on top of the VPN) and will drop the connection after too many failed attempts.
The server is only accessible via the web using SSL connections (https://). The connection is encrypted and signed using Let's Encrypt certificates.
A set of rules guarantees a minimum quality for users' passwords, namely (a) at least 10 digits, (b) at least 3 of the following classes: lower case, upper case, numbers, special characters, (c) no more than 2 consecutive repetitions, (d) no common words or substrings of the user name.
30-day daily backups are performed using a second NAS. If required, individual files can be retrieved from these backups (manually, on request).
A good passowrd is very important: long, with a good entrophy, never used everywhere else. Remember that "a cracker encrypted my PhD thesis files" will not be considered a valid justification :-) :-) :-)
Go to the security page of NextCloud to change your password.
For the NextCloud mounted space in the computational server (if you have it), I recently started sugesting folks to use a dedicated "app password" that is not impacted if you change your main nextcloud password (you can obtain an app password from the nextcloud interface -> click on your used icon -> Personal settings -> Security -> Devices & sessions).
In case you still have in the mount settings of the server your "main" nextcloud password, and you changed it in NextCloud, you need to change it also for the mounted space in the server.
Open a terminal clicking the Terminal icon in Jupyter and type:
echo "https://nc.beta-lorraine.fr/remote.php/webdav/ myuser mynewpassword" > ~/.davfs2/secrets2
This write the new mount configuration for your NextCloud stuff.
You can then unmount and mount again your NextCloud data with respectively:
mount ~/CloudFiles/beta-lorraine-sync/
umount ~/CloudFiles/beta-lorraine-sync/
Please consider that I can read the password saved on this file. Please don't use the password you use for your bank in this context (or, at this point, provide me with your IBAN).
To change your computational server password, open a terminal clicking the Terminal icon in Jupyter and type passwd. You will be prompted by your current password and asked to type your new password twice:

Note that it is normal you will not see your password while you type. This password is "salted" and nobody can retrieve it, except using brute-force attack methods. If you forget it, I will create you a new temporary one that you can then change using the command above.
Update: VPN IS NO LONGER NEEDED for the general user You can skip this section
The server is now available directly, only the management of the server needs the VPN.
First of all, in order to access the computational server, it is necessary either to work within the INRAE network or to use the INRAE VPN, where "step zero" is to have or to request an INRAE (LDAP) account.
The first step is to request the authorisation for the VPN using this form: https://ariane.inrae.fr/block?id=ariane_sc_cat_item&sys_id=7e18f31e0f0086006c18929792050ee7
The second step is to download, install and run the VPN client specific to the operating system used:
Download either the private GlobalProtect client or the open source one openconnect (sudo apt-get install openconnect ).
Other clients are described here
With GlobalProtect:
$ globalprotect
>> connect --portal acces.intranet.inrae.fr
>> disconnect
>> quit
With OpenConnect:
sudo openconnect --protocol=gp -u alobianco acces.intranet.inrae.fr
and insert the INRAE LDAP psw when requested
INRAE instructions for various OSs are here and specific instructions for BETA and Windows are here
I have tested the app GlobalProtect and it works with the same settings above.
Update: SSH NOW WORKS ONLY UNDER VPN, UNDER SPECIFIC VPN USERS
ONLY in the VPN, the computational server can be accessed via SSH, possibly passing the -XC parameters to allow graphical applications (QGis...) to run.
To connect, use user@mgm.beta-lorraine.fr from your terminal and start the desired program by typing its name in the remote SSH shell, e.g:
ssh -XC username@mgm.beta-lorraine.fr -p 54100
username@comp:~$ qgis
Windows users may want to consider MobaXTerm to connect to the server via (X)SSH.